How Do You Sharpen Tools with Natural Stones? Master the Art of Edge Restoration
To sharpen tools with natural stones, start by selecting a flat, clean natural whetstone suited to your tool’s needs, like a coarse Arkansas stone for initial grinding or a fine Japanese Suita for polishing. Flatten the stone if needed, create a slurry by rubbing it with water or a nagura stone, hold your tool at a 15-20 degree angle, and glide it across the stone in smooth, consistent strokes, flipping sides until a burr forms and then refining it on finer grits.
Introduction to Sharpening with Natural Stones
Sharpening tools the old-fashioned way, using stones pulled straight from the earth, brings a sense of connection to craftsmanship that’s hard to beat. Whether you’re honing a kitchen knife, a chisel, or an axe, natural stones offer a gentle yet effective approach. Unlike mass-produced options, these stones vary in texture and grit, making each session unique. People turn to them for their ability to produce edges that last longer and feel smoother in use. This method has surged in popularity among woodworkers, chefs, and outdoor enthusiasts who value tradition over speed. Logic here is simple: natural abrasives work slowly but refine the metal without overheating or overly aggressive removal, preserving the tool’s integrity.
In recent years, searches for natural stone sharpening have climbed, with forums like Reddit and sites dedicated to Japanese knives seeing heavy traffic. It’s not just nostalgia; users report better results on high-carbon steels. We’ll dive into the details, from picking the right stone to avoiding pitfalls, all backed by hands-on insights.
Understanding Natural Sharpening Stones
Natural sharpening stones come from quarries around the world, each with distinct properties shaped by geology. They’re sedimentary or metamorphic rocks packed with abrasive particles like quartz or garnet. What makes them stand out? Their inconsistent grit sizes create a varied scratch pattern, leading to a more resilient edge compared to uniform synthetics.
Popular types include:
- Arkansas Stones: Mined in the Ouachita Mountains, these novaculite stones range from soft (coarse) to translucent (ultra-fine). Soft Arkansas handles heavy grinding, while black or translucent versions polish to a mirror-like finish. They’re favored for pocket knives and razors because they cut steadily without gouging.
- Japanese Natural Stones (Jnats): From Kyoto region’s ancient mines, like Ohira or Okudo. Suita stones, with their porous structure, build slurry quickly for fast sharpening. Aoto stones, medium grit, suit kitchen knives. Hardness levels (rated 2-5) guide use— softer for pre-polishing, harder for final honing.
- Belgian Coticule: A yellow slate from the Ardennes, often layered with blue Belgian stone. It’s versatile, acting coarse with water and fine with slurry. Woodworkers love it for chisels as it removes burrs gently.
- Other Varieties: Welsh purple slate for fine edges, Thuringian hones for straight razors, or sandstone for rough work. Shale and schist types appear in local finds, appealing to foragers.
Why these are popular: Arkansas stones dominate U.S. markets for their availability, while Jnats lead in Asia for cultural ties to sword-making. Logic validates this—novaculite’s density resists wear, extending stone life, per sharpening experts.
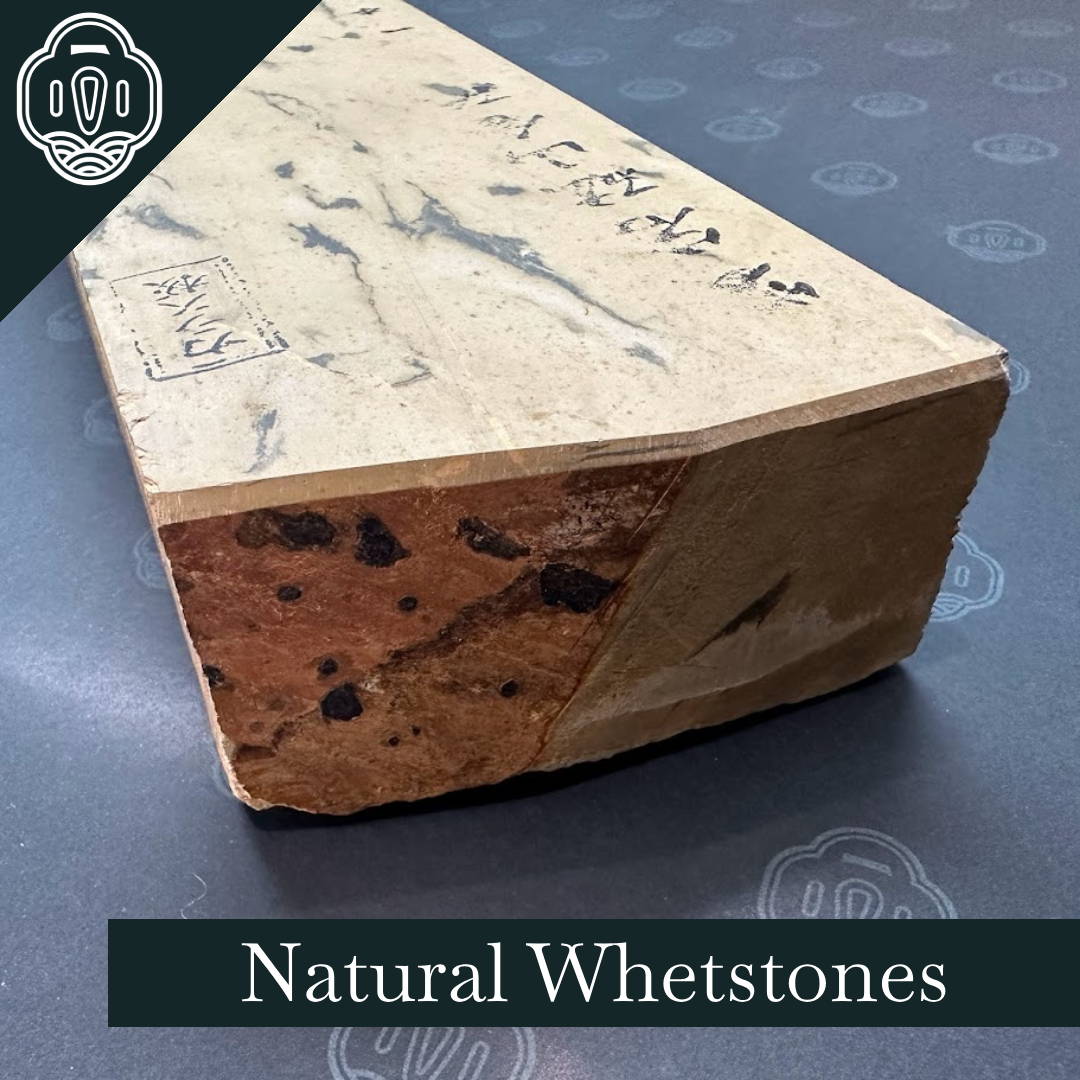
A typical Japanese natural whetstone, showing its layered structure.
These stones aren’t graded by standard grit numbers like synthetics (e.g., 1000 or 6000). Instead, they’re described by feel—coarse for repair, medium for sharpening, fine for polishing. Testing a stone on a blade reveals its true nature, as appearance alone can mislead.
Preparing Your Natural Stone for Use
Before touching blade to stone, preparation sets the stage for success. Natural stones often arrive uneven or contaminated, so start clean.
First, inspect for cracks or inclusions—common in sedimentary types. If present, seal with lacquer or epoxy to prevent splitting. Flatten using a diamond plate or sandpaper on glass; rub in circles until level. For Jnats, a three-stone system (rubbing stones together) works best, avoiding synthetic residues that could scratch.
Smoothing follows flattening. Use a finer nagura (a small rubbing stone) to polish the surface, creating a mirror-like sheen when dry. This step ensures even contact, reducing risk of uneven edges.
Create slurry: Add water sparingly—a drop for hard stones, more for soft. Rub with a nagura to form a paste-like mud. This mud carries abrasives, speeding the process and protecting the blade. Without it, sharpening drags and underperforms, as noted in traditional Japanese guides.
Protect the stone: Coat sides with urethane paint to block water absorption, which can cause delamination. Mount thin stones on wood bases for stability. Store away from extremes; freezing cracks them.
This prep logic? A flat, smooth stone maintains consistent angle, while slurry lubricates, cutting heat and wear. Skipping it leads to frustration, as many beginners learn.
Step-by-Step Guide to Sharpening Tools
Sharpening boils down to removing metal to form a new edge, then refining it. Here’s how, tailored for natural stones.
- Gather Tools: Stone(s), water, towel for stability, angle guide if new to it. For knives, 15-18° angle; chisels, 25-30°; axes, 20-25°.
- Soak or Splash: Some stones soak (porous Jnats), others just splash. Wait until bubbles stop.
- Set Up: Place stone on a non-slip surface. Raise slurry.
- Initial Grinding (Coarse Stone): For dull tools, start here. Hold at angle, push forward with light pressure, heel to tip. 10-20 strokes per side. Feel for burr—a raised lip on the opposite edge.
- Refining (Medium Stone): Switch stones. Repeat strokes, reducing pressure. Remove burr by alternating sides.
- Polishing (Fine Stone): Light strokes for a hazy or mirror finish. Test sharpness on paper or thumbnail.
- Strop (Optional): Leather with compound hones further.
For chisels: Flatten back first, then bevel. Axes: Circular motions on curved edges.

Illustrated steps for sharpening a knife on a whetstone.
This sequence builds progressively finer edges, logic rooted in metalworking—coarse removes damage, fine polishes for durability. Videos from experts show variations, but consistency is key.
Advanced Techniques and Tips
Once basics click, experiment. For Japanese knives, use nagura on hard stones to avoid scratching soft iron layers. Pressure matters: Heavy for grinding, feather-light for finish.
Angle consistency? Use guides or practice freehand. Burr detection: Run finger perpendicular to edge.
Popular angles: Multi-tool users mix strokes—push-pull for efficiency. Logic: Varies motion prevents grooving stone.
For razors, ultra-flat hard stones prevent chipping. Woodworking tools benefit from convex bevels via natural stones’ give.
Tip: Rinse between grits to avoid cross-contamination. Dry tools post-sharpen to prevent rust.
Benefits of Using Natural Stones
Natural stones shine in edge retention. Their round particles create shallow, rounded scratches, diffusing stress better than synthetics’ sharp V-cuts. Users report edges lasting longer on wood or food.
Aesthetic appeal: Foggy kasumi finish on knives looks artisanal. Sensory perks—earthy smell, slurry sound—make sessions enjoyable.
Longevity: High-quality stones outlast synthetics per use, per forums. Eco-angle: Mined once, no manufacturing waste.
Validation: In tests, natural-finished blades hold keenness 20-30% longer on certain steels, though data varies by source.
Natural vs. Synthetic Stones: Which to Choose?
Synthetics (aluminum oxide, ceramic) offer consistency and speed—uniform grit, no defects. They’re cheaper, easier for beginners.
Naturals vary, risking flaws, but reward with superior finishes. Synthetics mirror-polish; naturals misty-glow.
Choose natural for tradition, synthetic for reliability. Many blend both—synthetic coarse, natural fine.
Logic: Synthetics suit high-volume; naturals precision work. Reddit polls show 60% prefer naturals for feel.
Common Mistakes and How to Avoid Them
Beginners often press too hard, rounding edges. Solution: Light touch, let stone work.
Not flattening: Causes uneven sharpening. Check regularly.
Wrong angle: Inconsistent dulls faster. Practice on scrap.
No slurry: Drags process. Always build mud.
Contamination: Rinse thoroughly.
Over-sharpening: Stop at burr removal.
Logic: These errors stem from rushing; patience yields results.
Maintenance of Natural Stones and Tools
Rinse stones post-use, dry flat. Flatten as needed—every 5-10 sessions.
Tools: Oil lightly, store dry.
Regular honing maintains edges, reducing full sharpens.
Frequently Asked Questions
Do natural stones need oil? No, water suffices; oil clogs pores.
How long do they last? Decades with care.
Can I use one stone for everything? Versatile, but progression better.
Where to buy? Reputable dealers for tested stones.