How to Make a Solar Still (Step-by-Step Guide)
Ever found yourself staring at a murky puddle or brackish stream, wishing for a sip of clean water? That’s where a solar still comes in handy—it’s a straightforward setup that turns sunlight into a water-purifying machine. Whether you’re prepping for a hike gone wrong, teaching the kids about nature’s tricks, or just tinkering in the backyard, building one is easier than you think. No fancy tools, no electricity, just the sun doing its thing.
Your Quick Answer: The Exact Steps for a Basic Build
Here’s the no-fuss way to get one up and running in under an hour, pulling in a cup or two of fresh water by tomorrow:
- Dig the hole: Scoop out a pit about 2 feet across and 18 inches deep in a sunny spot—soft soil works best.
- Set the catcher: Drop an empty cup or bottle in the center, raised slightly so it doesn’t tip.
- Add moisture: Pack the space around the cup with damp dirt, leaves, or even urine-soaked cloth if you’re in a pinch (it works, trust me).
- Seal it up: Stretch clear plastic sheeting over the top, bigger than the hole, and pile dirt or rocks around the edges to hold it tight.
- Create the drip: Balance a small rock on the plastic right above the cup to sag it into a low point at a 45-degree angle.
- Let it cook: Leave it alone for 24 hours. Sun heats the wet stuff below, vapor rises, hits the cool plastic, and drips pure drops into your cup.
That’s it. Scale it up for more water, tweak for your setup, but this core method has saved hikers and sailors alike. Now, let’s dig deeper into why it works and how to make it even better.
What Is a Solar Still, Anyway?
Picture a mini greenhouse crossed with a moonshine rig, but for water instead of whiskey. A solar still is a simple device that uses the sun to evaporate dirty or salty water, then traps the steam and turns it back into drinkable liquid. Impurities like salt, mud, or germs get left behind in the original mess.
Folks have been rigging these since ancient times—think Roman engineers or desert nomads—but they’re blowing up now with off-grid crowds and survival nuts. In a world where bottled water guzzles plastic, it’s a smart, zero-waste hack. And the best part? It fits in your backpack or backyard, no permits needed.

The Science That Makes It Tick
At its heart, a solar still mimics the rain cycle you learned in grade school, but cranked up for purification. Sunlight blasts through the clear cover, warming the water or damp ground below. That heat kicks off evaporation: molecules of H2O break free from the liquid, leaving salts and gunk stuck at the bottom because they boil at higher temps.
The vapor rises, bumps into the cooler plastic or glass lid, and—bam—condenses into droplets. Gravity pulls those pure pearls down the slope into your collection cup. It’s passive genius: no pumps, no filters, just physics.
Why does this matter? In hot, sunny spots, it shines—literally. Studies show evaporation rates spike with shallower water depths and darker basins that soak up more rays. One experiment clocked heat transfer jumping when water sat just an inch deep. And for the eco-angle, it’s fossil-fuel free, turning waste heat into hydration.
Gathering Your Gear: Materials for Every Scenario
You don’t need a hardware store haul to start. For a quick survival rig, scrounge what nature hands you. Scaling up? Hit the dollar store. Here’s a breakdown:
Basic Backcountry Kit (Under $5)
- Clear plastic sheet (6×6 feet, like a painter’s drop cloth)
- Empty cup or can (for catching drips)
- Small rock (for the center weight)
- Shovel or stick (if digging’s on the menu)
- Duct tape (optional, for tweaks)
Home DIY Upgrade (Around $20)
- Large glass bowl or metal tray (for the basin)
- Plexiglass or heavy-duty plastic lid
- Black paint or cloth (to line the bottom—absorbs heat better)
- Rubber tubing (for siphoning out water without opening the top)
- Bricks or sandbags (to weigh edges)
Pro tip: Black surfaces can boost output by 20-30% by grabbing more solar energy. If you’re going permanent, grab weatherproof sealant to keep things airtight.
Hands-On: Building Your First Solar Still, Step by Step
Let’s walk through the classic pit-style build—it’s forgiving for beginners and packs a punch in emergencies. This one’s tuned for desert heat but works anywhere sunny. Total time: 30 minutes, plus sunning.
- Pick your spot: Find full sun from 10 a.m. to 4 p.m.—south-facing if you’re in the northern hemisphere. Sandy or loamy soil digs easy; avoid rocky ground that fights back.
- Dig smart: Go for 4 feet wide by 3 feet deep. Taper the sides like a bowl to hold moisture. In the middle, carve a smaller hole for your cup—keep it 6 inches higher than the bottom to avoid spills.
- Load the moisture: Fill around the cup with wet sand, grass clippings, or green plants. If you’ve got seawater or pond scum handy, pour it in. (Urine? Last resort, but it yields about half a cup a day.)
- Cap it off: Drape the plastic over, letting it sag an inch above the cup. No touching the wet stuff, or it’ll steal your drips. Secure edges with soil mounds or rocks—airtight is key.
- Angle for success: Plop that center rock to form a V-point over the cup. Aim for 45 degrees; too steep, and water runs off; too flat, and vapor lingers.
- Harvest time: After a full day, gently lift one edge, snag your cup, and reseal. Expect 1-2 cups from a setup this size in good sun.
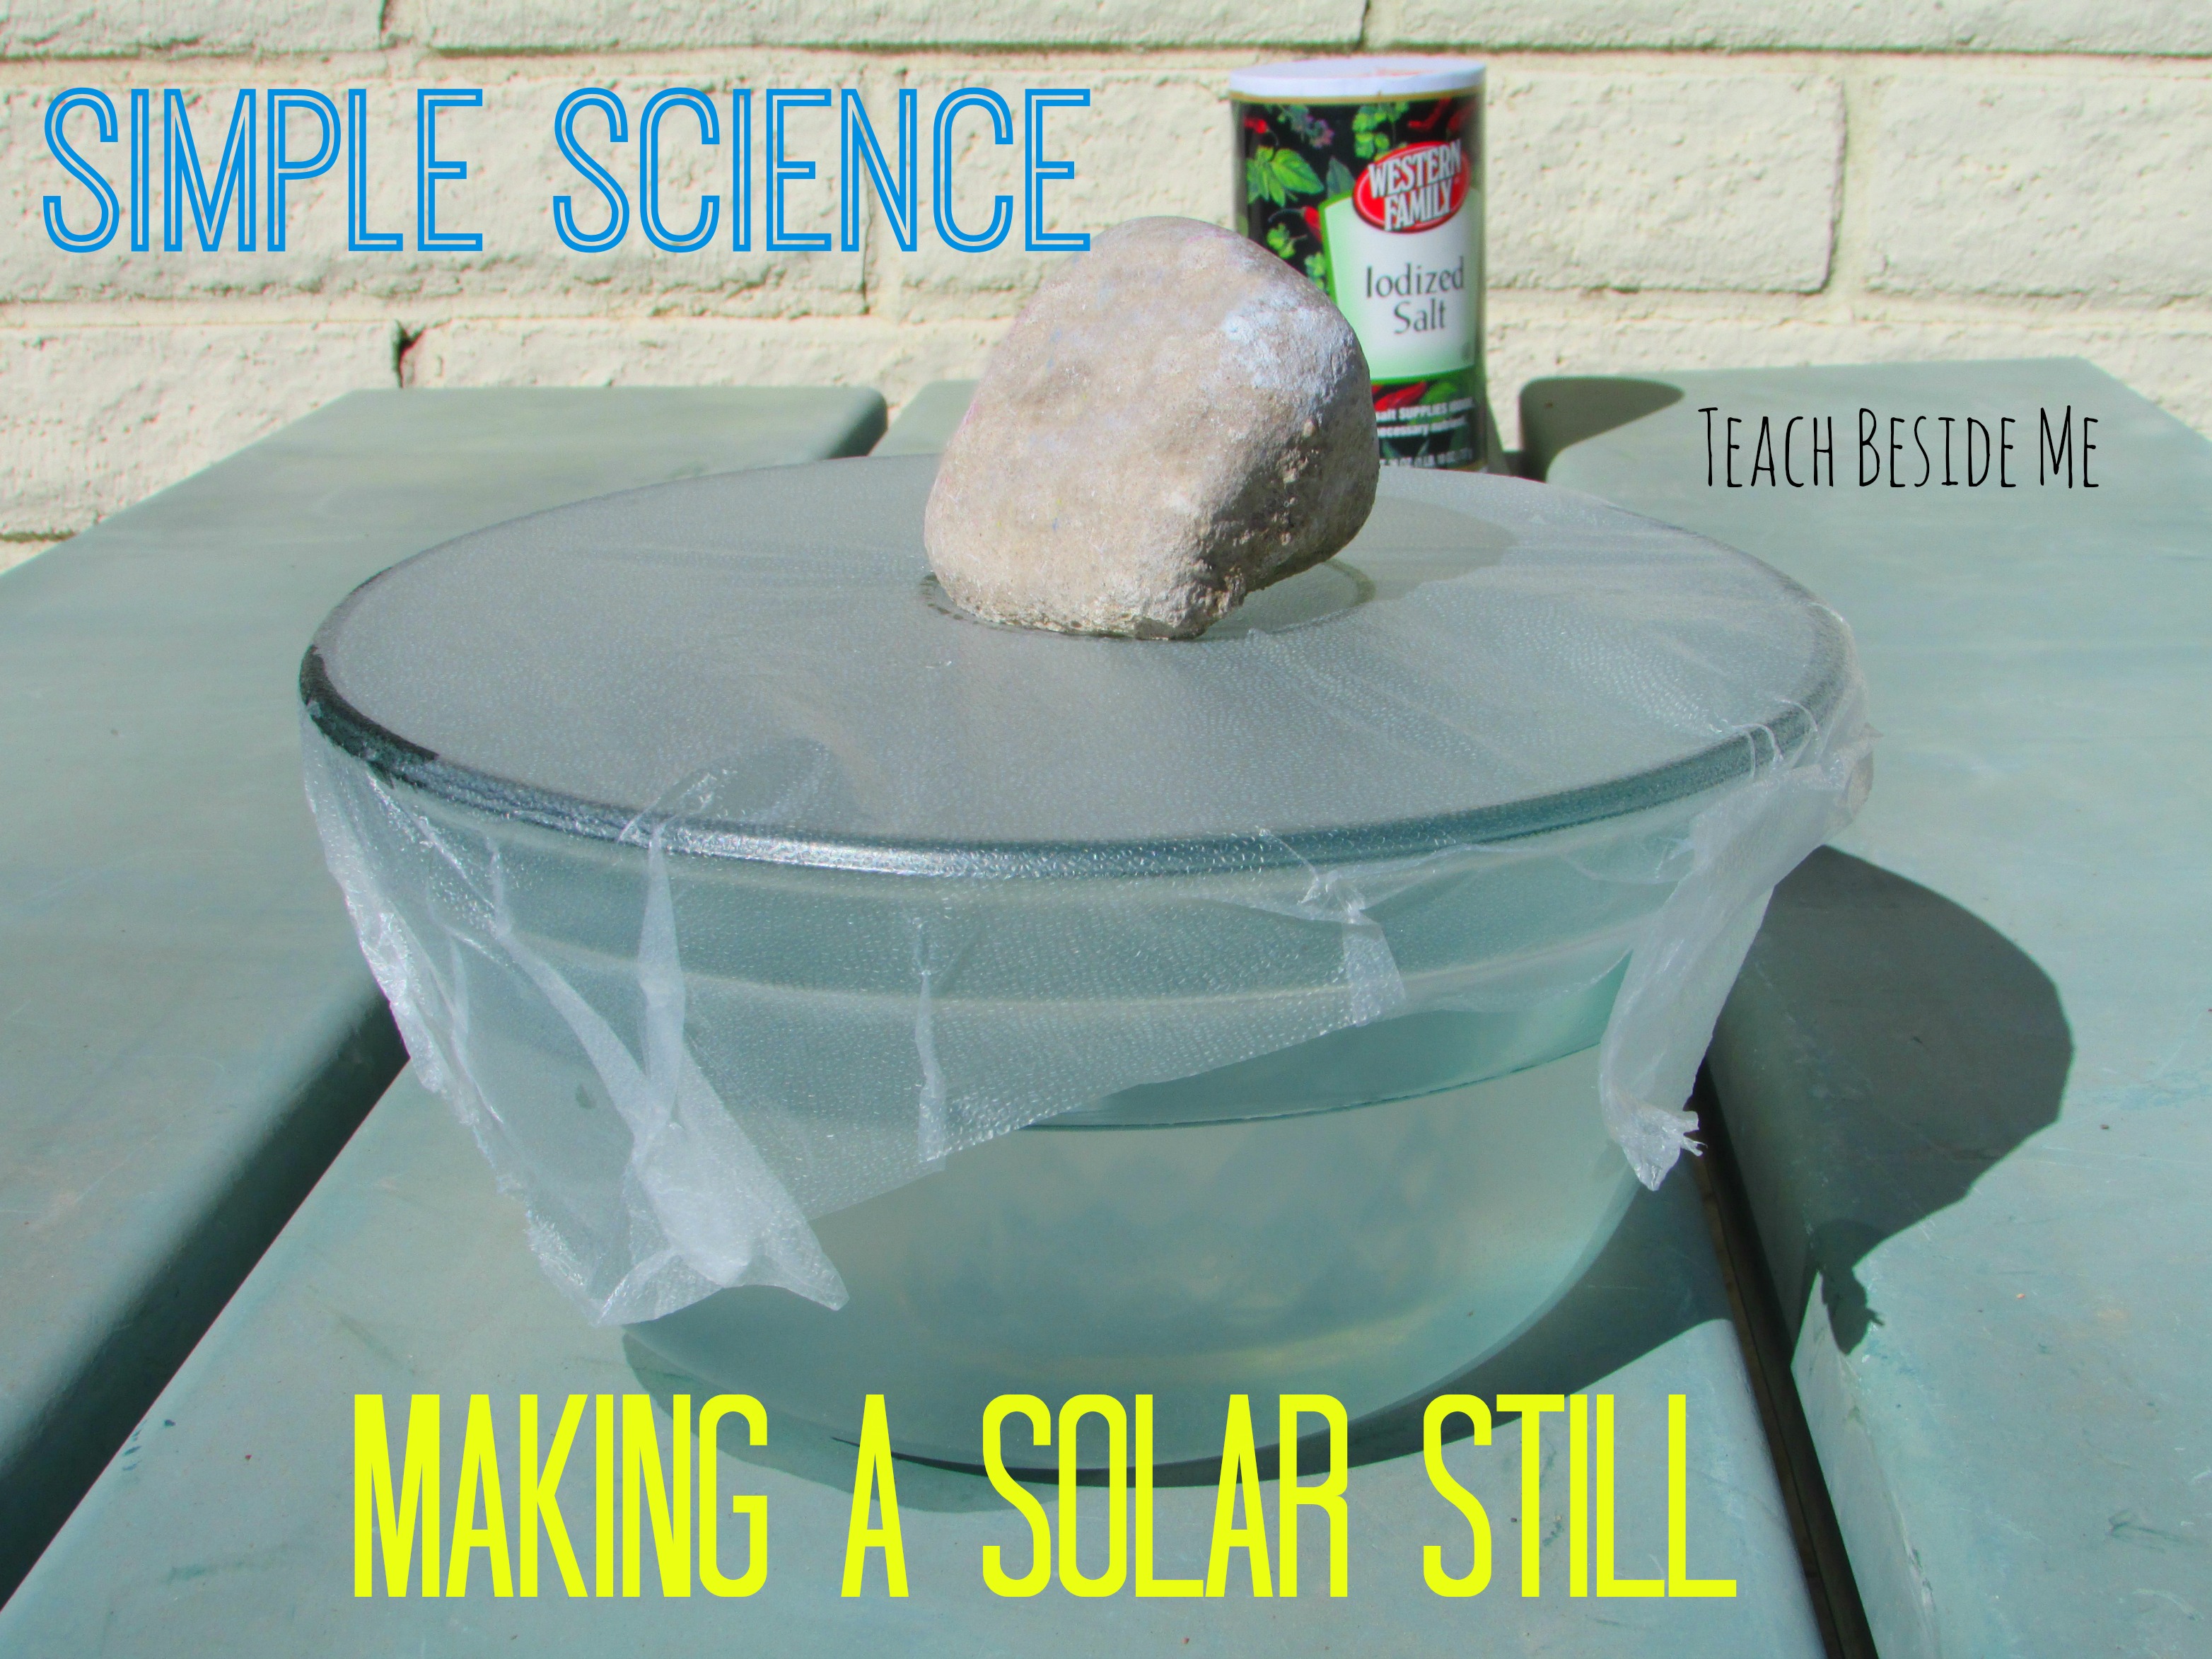
For a tabletop version (great for rainy days or demos), swap the pit for a bowl: Saltwater in the big one, empty jar inside, plastic wrap on top, rock in middle. Same magic, smaller scale.
Level Up: Popular Types of Solar Stills to Try
One size doesn’t fit all—tweak based on your vibe. Here’s the lineup, from quick-and-dirty to backyard beast:
- Pit Still: Your survival go-to. Cheap, portable, pulls moisture from soil. Ideal for hikers; one test in arid zones netted 0.5 liters daily.
- Basin Still: Boxy home version with a black-lined tray under glass. Steady producer for off-grid cabins—up to 3 liters per square meter on hot days.
- Pyramid Still: Sloped glass roof funnels drips fast. Popular for greenhouses; the angle cuts collection time by 15%.
- Inverted Cone or Tubular: Fancy for boats or tents. Rolls up small, yields 2-5 ounces in hours. Sailors swear by these for sea voyages.
- Multi-Basin Stacked: Like a water-purifying lasagna. Lower layers get heat from above, boosting output 50% over singles. For homesteaders chasing gallons.
Each shines in context: Pits for wilderness, basins for sustainability. Pick by space and sun—logic is, more surface area means more evaporation.
Squeeze More Out: Efficiency Hacks That Actually Work
Don’t settle for drips when you can get a stream. These tweaks, backed by real tests, amp production without extra sweat:
- Go dark: Paint the basin black or add charcoal. It traps 90% more heat, spiking vapor by 25%.
- Insulate edges: Wrap sides with foil or straw. Cuts heat loss, adding 10-20% yield in cooler climes.
- Wick it up: Layer cloth or sponges in the water. Draws moisture to the surface, mimicking plant roots—boosts output 30% in low-water setups.
- Size matters: Bigger hole, bigger haul. A 4×4-foot pit can double a 2×2’s take, but start small to test.
- Time it right: Peak sun hours rule. In summer deserts, expect double winter rates. One study hit 0.67 liters per square meter hourly with tweaks.
Logic here? Heat in, vapor out—every degree counts. Track yours with a cheap thermometer; aim for 140°F basin temps.
Pitfalls to Dodge: What Trips Up Most Builders
I’ve seen it all—folks pouring sweat into a dud still. Avoid these to keep yours humming:
- Leaky seals: Wind sneaks in, vapor escapes. Double-check edges; one gap halves output.
- Overloading moisture: Too much water floods the cup. Keep it shallow—under 2 inches—for max evaporation.
- Skipping shade test: Direct sun only; trees kill it. Relocate if clouds linger.
- Impatient peeks: Lifting the cover mid-day lets steam bolt. Wait the full cycle.
- Wrong spot: Shady or windy? Nope. South-facing flat ground wins.
These aren’t guesses—field reports show leaks alone tank 40% of builds. Fix ’em early, sip easy.
Where It Shines: From Backpacking to Backyard Bliss
Solar stills aren’t just gadgets; they’re lifelines with stories. In survival mode, they’re desert MVPs—U.S. Air Force kits have hydrated pilots for decades. One lost hiker pulled a quart a day from sand alone.
For families, it’s pure fun: Set up the bowl version for a science fair, watching kids geek out as salt stays put but water runs clear. Ties right into water cycle lessons, hands-on style.
Off-grid? Homesteaders stack ’em for steady supply. In arid spots like Arizona, they’re slashing bills— one rig covers a family’s veggie garden needs. And sustainability fans love the zero-emission angle: No power draw, all sun-powered purity.
Bottom line: It’s versatile. Matches your life, whether scrambling peaks or chilling at camp.
Realistic Expectations: How Much Water Are We Talking?
Numbers vary—sun, size, humidity play in—but here’s the scoop from lab and field data:
- Basic pit (2×2 feet): 0.25-1 liter per day in full sun.
- Upgraded basin (1 sq m): 2-4 liters daily, peaking at 0.38-0.67 L/m²/hour with mods.
- Desert test: 163-261 ml/hour from simple setups.
Scale up, and you’re in gallon territory. Not a geyser, but enough to stay alive or irrigate herbs. Track weather; 80°F+ doubles hauls.
Got Questions? Quick Hits on Solar Stills
Can it purify urine or seawater? Yep—evaporation strips ’em clean. Just don’t drink the source.
How long does it last? Indefinitely if sealed right. Plastic wears in 1-2 years; glass forever.
Cloudy day killer? It slows to a trickle, but soil moisture carries over. Pair with rain catchers.
Safe for drinking? Absolutely—distills out 99% contaminants. Taste it fresh; store cool.
Cost to scale? Pennies per liter long-term. Beats hauling jugs.
There you have it—a blueprint to turn sunbeams into sips. Grab that shovel, chase some rays, and taste the difference. What’s your first build story? Drop it below.